Over the past couple of months I’ve found that postings of bloggers I follow are not always coming up in my WordPress Reader. One of those missed postings is Raj’s photo lesson on lenses. In that xdrive photo lesson Raj invited us to “really access the capabilities of your camera and find out what exactly is your stumbling block, is it a camera or a lens?”
So with this lesson in mind along with the recent discussions about photographing in raw, I set out on three separate nature walks with a different lens on each occasion.
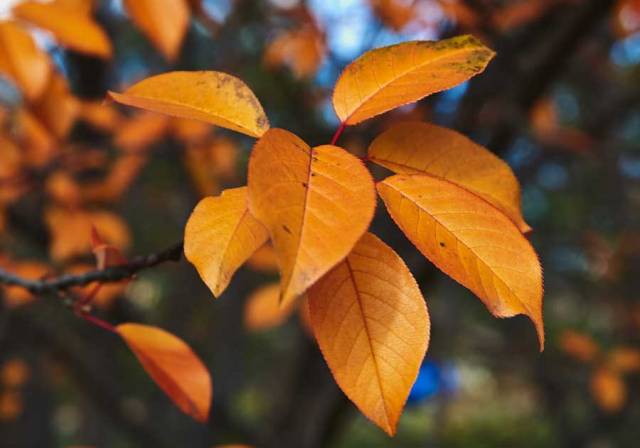
On the first day of this assignment I used a Nikon 28-300mm f/3.5-5.6G ED VR lens with a Tiffen 0.6 neutral density lens.
This first image is a representation of the raw image. I see this image as a bit underexposed.
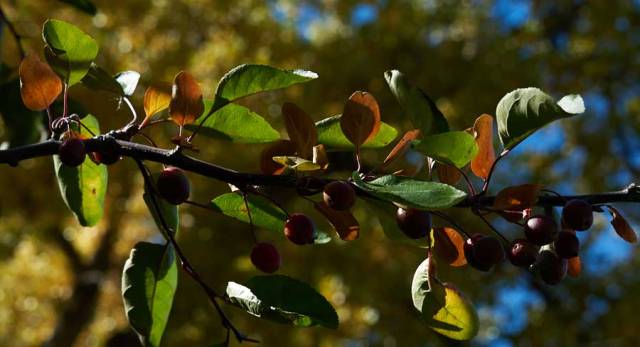
Nikon D750 f/9 1/40s 55mm ISO 100
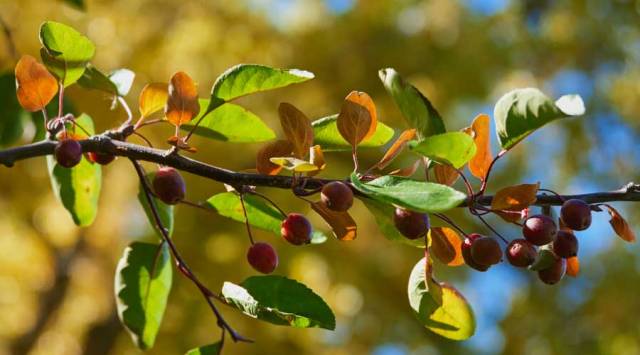
This second image was created with Raj’s discussion regarding the consideration of sharpening and color saturation within the initial editing of raw images in mind.

Nikon D750 f/9 1/40s 55mm ISO 100
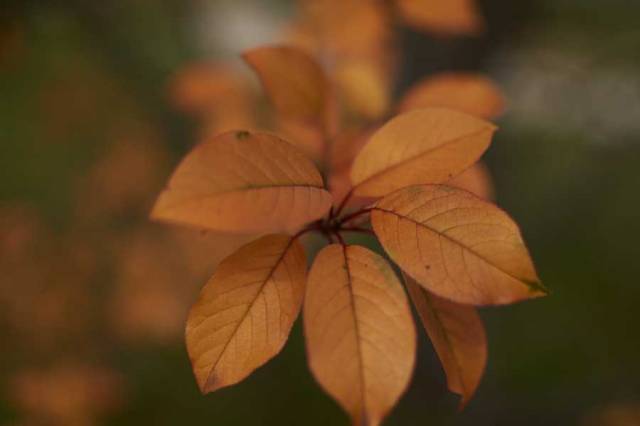
While I love bokeh – the way the lens renders out-of-focus points of light – I experimented with opening up the f-stop to explore Raj’s recommendation that an “open aperture would have created better isolation of leaves.”
Nikon D750 f/4.5 1/100s 55mm ISO100
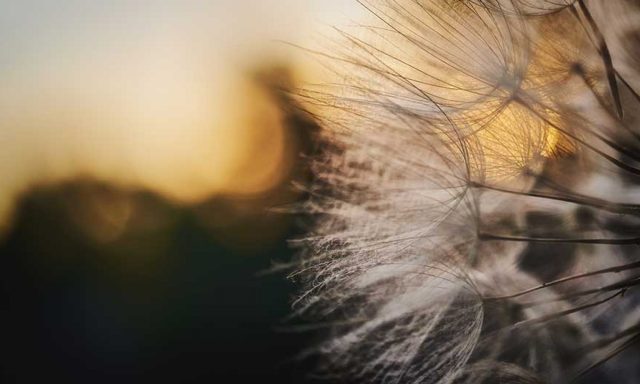
During the second day of this assignment I used a Nikon AF-S DX 35mm f/1.8G lens with a Platinum natural density lens.
The first image is a raw representation prior to any editing. This image seems a bit muted.
Nikon D750 f/1.8 1/1000s 35mm ISO 100
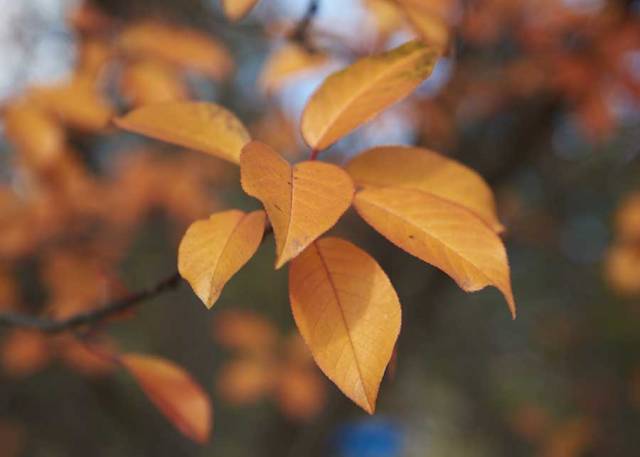
This second image was again edited with the intentional inclusion of sharpening and color saturation. As Raj noted an open aperture does allow for a greater isolation of the leaves. The f/1.8 setting also seems to offer a softness to the image as well as gentle depth of field.

Nikon D750 f/1.8 1/1000s 35mm ISO 100
In my limited experience and knowledge I find that a prime lens invites me to zoom in using my legs which is okay when photographing leaves…but not so much during street photography.

Nikon D750 f/7.1 1/60s 35mm ISO 100
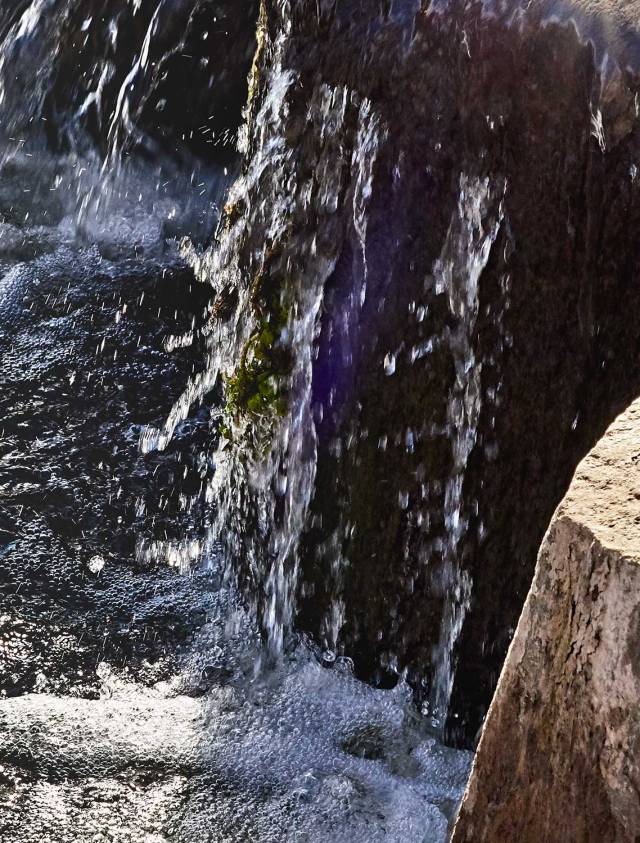
On the third day, I set out with a Nikon AF-S 24-85mm f/3.5-4.5 G ED VR lens.
A raw representation prior to editing. Again, muted.
Nikon D750 f/4.2 1/125s 56mm ISO 100
In the edited f/4.2 image the shadows on the leaves are brought out; yet, I find the background a bit distracting. Sharpening and color saturation was also intentionally included in the editing process.

Nikon D750 f/4.2 1/125s 56mm ISO 100
In the f/7.1 image below the detail and sharpness of the leaves seems to offer a greater isolation of the leaves and isn’t as distracting as in the f/4.2 image. Also, it is interesting to note that both images have a bit of bokeh.
Nikon D750 f/7.1 1/80s 56mm ISO 100
Over to you Raj…I am finding great value in your lessons and feedback. Thank you for expanding my understanding of this never-ending learning experience.


You must be logged in to post a comment.